ezCheckPrinting: Enable Password Protection
(For multiple-user version)
ezCheckPrinting software added the new password protection feature to the Version 9 multiple-user version. Once this feature is enabled, only administrator can edit the check settings. The regular user can print checks only.
A password is required to access the following features once the password feature is enabled:
Check setup Layout setup Stub setup Admin password Edit account New account Delete account
(Note: This feature is not available to single-user version and trial version.)
Steps to enable the password protection feature
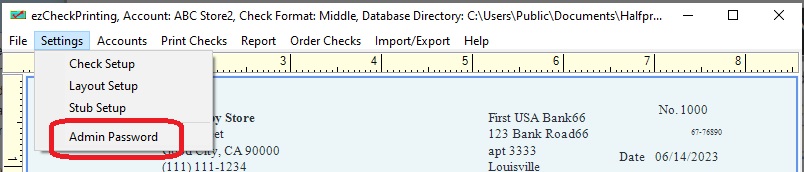
Step 1. Start ezCheckPrinting software on Windows computer, click the top menu "settings" then "Admin password".
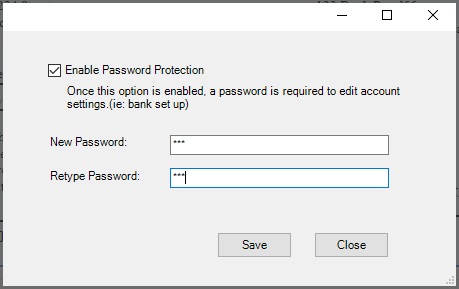
Step 2. Check the option "Enable Password Protection", enter the password and save.
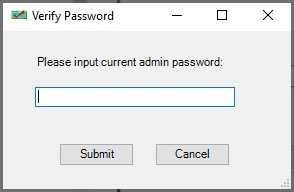
Step 3. When you edit the account settings, you will see the password input pop up screen.
More information:
How to disable password protection
1. Start ezCheckPrinting software on Windows computer, click the top menu "settings" then "Admin password".
2. Enter the password
3. Uncheck the option "Enable Password Protection" and click the "Save" button.
 | Design and Print Professional Checks Yourself
- Print checks on blank stock with logo and signature
- Fill in data on pre-printed checks
- Print blank checks to fill in later
- QB virtual printer for QuickBooks/Quicken(for Windows)
- Unlimited accounts and checks for Windows and Mac.
Try ezCheckPrinting free demo version with no obligation and no credit card needed.
|
How to print paychecks on blank stock? How to print personal check on blank stock? How to print QuickBooks check on blank stock? How to print pre-printed blank check with MICR encoding to fill in manually? How to print checks with logo? How to print check draft to collect payment online or by phone? Why my bank cannot scan my check? Do I need special printer to print checks?